How to start with MQTT in DASYLab? Very easily, but before we get started, wewill need to decide what MQTT broker we will use. Once we have that decided we can proceed to the DASYLab setup and start with MQTT in DASYLab.
Set up local DASYLab program on 1st PC to transmit data
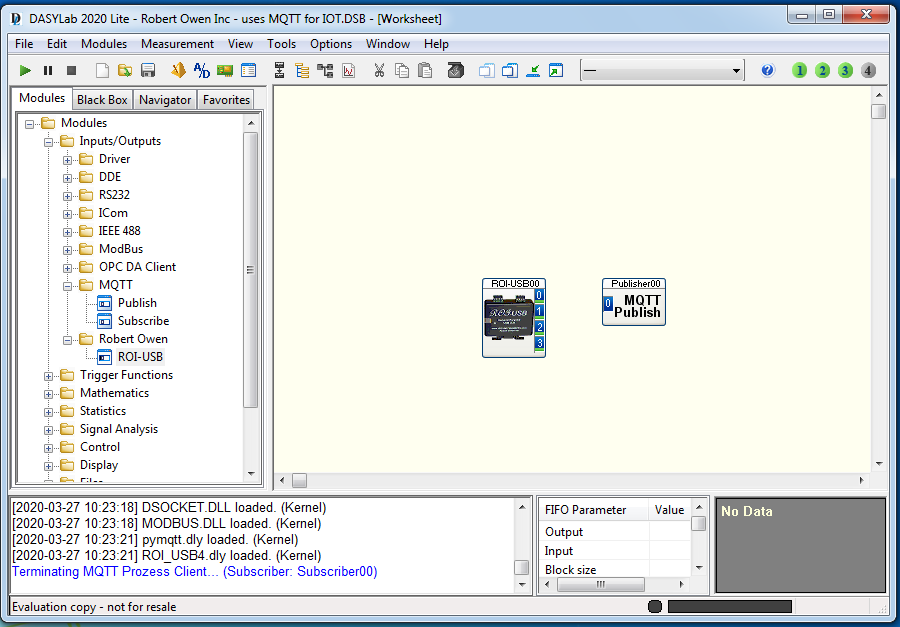
- Open DASYLab
- Expand the Modules Inputs/Outputs group
- Add an Input module (e.g. ROI-USB)
- Take note of the ROI-USB module; it’s a custom DASYLab module developed to work with custom USB hardware .
- Add an MQTT Publish module
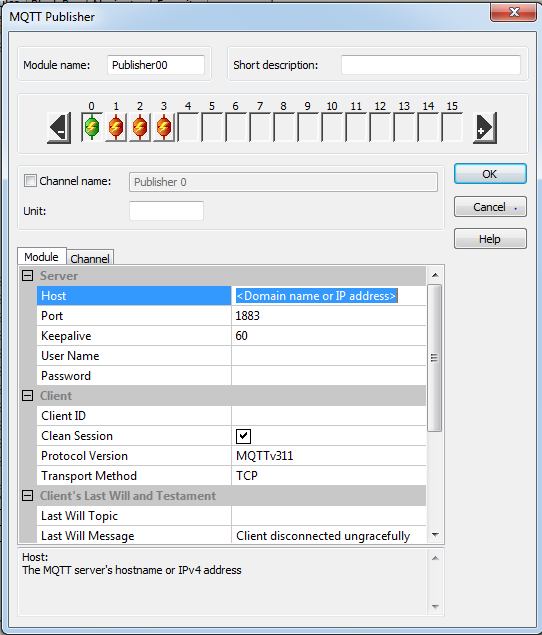
- Double click on the MQTT module to expose its settings
- Enter the server parameters (IP and Port), as defined by the service provider
- If your MQTT broker doesn’t use a username or password, ignore those settings.
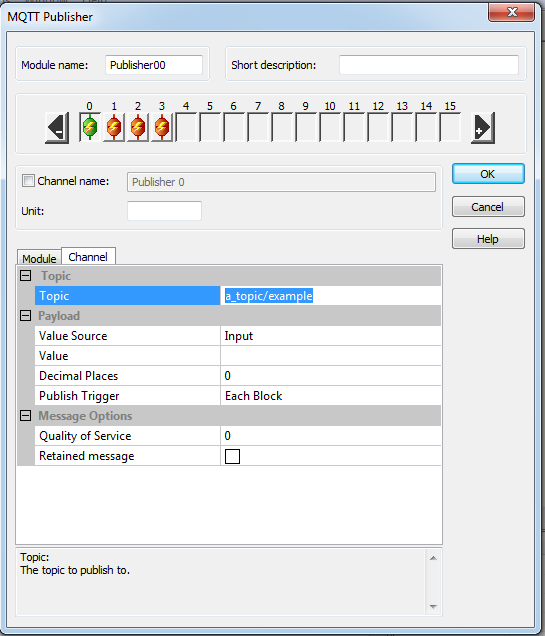
- Change to the Channel tab
- Expand the number of channels to match the data source
- Very important
- We will modified the default channel topics to match our system
- Change “a_topic/example” to your topic
- make each channel different
- Also, the default decimal place is zero
- set this to 1, 2, or 3 as you need
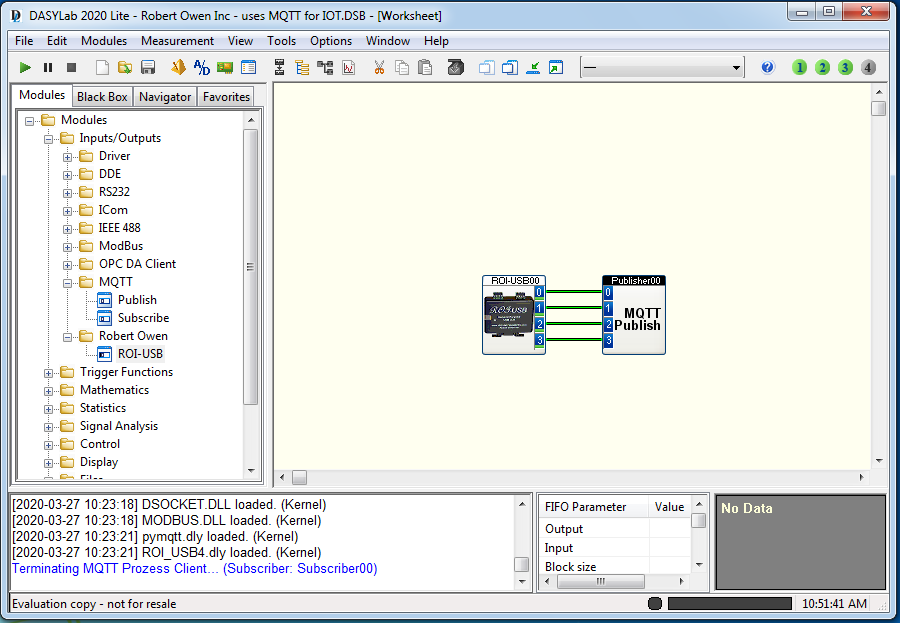
That’s it! You have it setup to send data to the MQTT broker. All you need to do now is connect the input module to the MQTT module and run the application.
Set up local DASYLab program on 2nd PC to receive data
We need to mention at this point, an IOT application has 2 ends. You have a transmit end and a receive end, or a local end and a remote end. You can call either end local or remote, but we will call the sensor end the local end as it is the source, and remote monitoring stations the remote ends as there could be more than 1.
We will need to:
- Open DASYLab
- Expand the Modules Inputs/Outputs group
- Add an MQTT Subscribe module
- Double click on the MQTT module to expose it’s settings
- Prepare to set it up the same as the Publish system

- We enter the server parameters (IP and Port), as defined by the service provider
- You will ignore those settings, if your MQTT broker doesn’t use a username or password,
The final part or the Subscriber setup

- We change to the Channel tab
- We expand the number of channels to match the data source
- Very important
- We will modify our default channel topics
- We change “a_topic/example” to our topic
- make each channel different
- Also, the default decimal place is zero
- set this to 1, 2, or 3 as we need
We are at this point able to get data transmitted between 2 PCs separated by the internet. Our data can be sent across the road, across town, or across the country. IOT is a great addition to DASYLab using MQTT.